How to Install Patio Furniture Replacement Slings
Following on from our last blog on how to measure your patio sling to order the correct replacement now Jeff shows how to install the parts you've ordered. Watch the video above from 2:26 to see just how to install patio furniture replacement slings or read the transcription below.
Removing the end caps
First of all we want to take off these end caps here on all four corners simply sliding the screwdriver down into the little crack in the cap there and then pulling the cap off.
You want to be as gentle as possible with that process so you're not breaking off the caps. We do sell these parts under sling rail caps on the website but you don't want to fork out if it's not necessary. Just sliding that screwdriver in and then prying out ever so gently will allow you to remove the end so we're not breaking the cap.
It's pretty easy to do. I'll also do it up here at the top and so we've got our four caps out now.
Remove the bolts
Now what you'll need to do is turn it on its side where you can access the hardware. What we're looking to do is take off one of these rails in order to make it so that it's loose and we can slide our fabric out of the track.
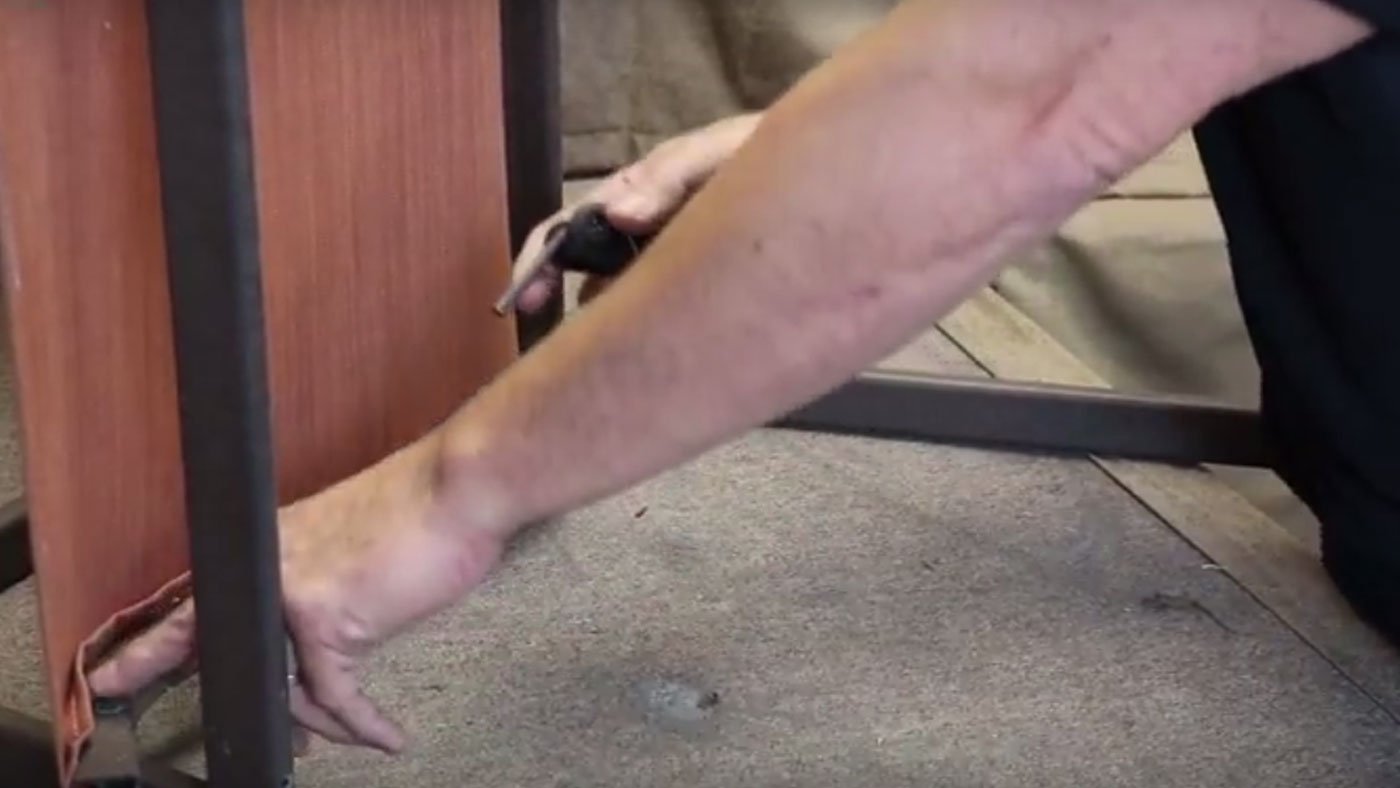
In order to do so you can use a hand hex key. Sometimes you can use a socket wrench but I like to use a hex. Because we do this a lot I have a drill set up with the proper hex head on there already so what I'll do is I'll just slip that hex on to there and then loosen it. Then that's your first bolts out. Generally you only see two bolts.
I'm going to take out the other one out too. Doing it by hand can be a little tedious but it just takes a little longer and by just picking the bolt out our little braces are going to pop out. I'll show you how to put these back in at a later time when we're all done.
Remove the sling
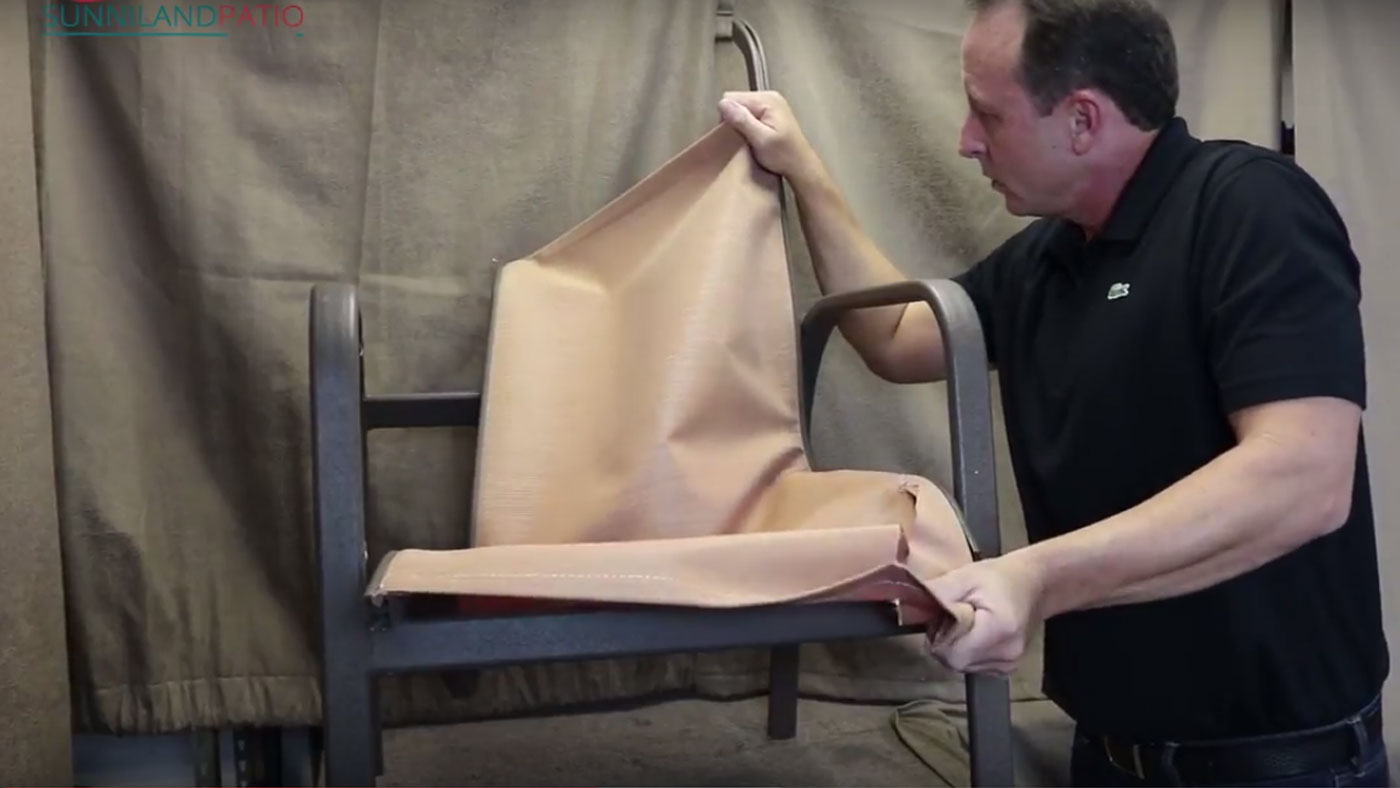
Now that we've got that out we can set the patio chair back upright again and we'll pull the sling out. You want to break it free a little from the rail so you can slide in the fabric.
Tip: I usually pull with two hands but if you have someone else that can help you it will make the job a little more simple.
We'll pull that side out of the rail and then do the same thing on the other side - break it free from the edge. A lot of times where the back meets the seat it gets a bit more stuck.
Just pull her down, break it free, pushing that out and usually you can get to a point where you pull it all the way down. Now let's get a new sling installed.
Installing a new sling
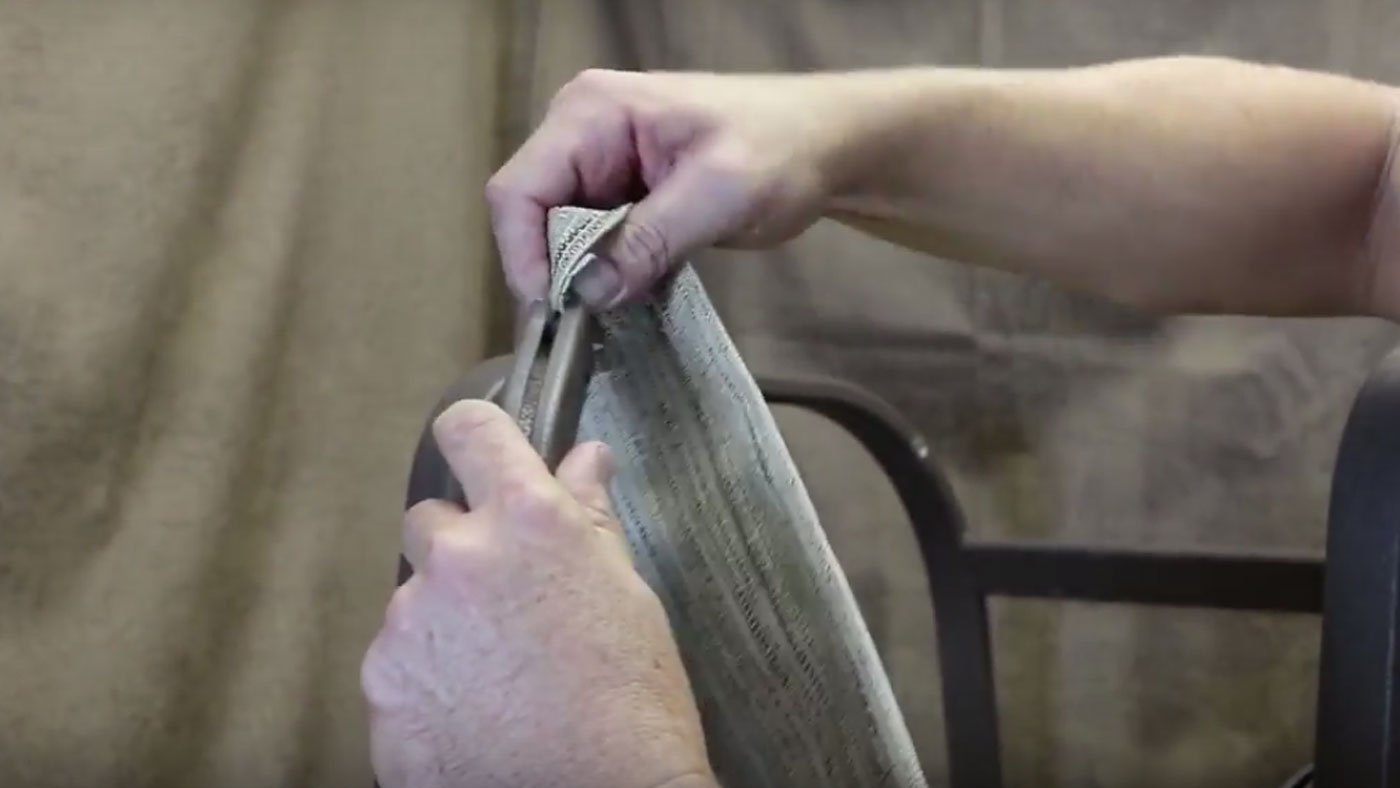
We take our replacement sling that we've ordered and first thing we want to do is line it up. We want to make sure we have the top of the sling not the unfinished edge at the bottom to wind up on the top of the rail you just want to hold it up in the right way and have your other rail kind of mocked in the position there. Now that we know that this is the top edge and this is kind of how it'll sit in position we want to take that and we're going to slide it into this rail. So let's get the loose rail off and then what I'm going to do is hold it and get it started here.
Tip: I like to give it a little stretch to make sure we can get as many wrinkles out of this center section right here as possible.That's where wrinkles will show up if you haven't stretched your sling out very well.
Now we've got one loose rail on. Now let's put it into the other rail. Again we'll slide that into the edge of the rail. It can be a little tricky sometimes, depending on the fabric and how big your rail is once you get it started. Generally, you just have to pull it down at the same time.
Then we're going to pull that down to the edge of the frame making sure we keep it up at the top at the same time so if you have to you can sit back or forth you know just to make sure you got both edges to the fabric at the end of the rail and give it a good stretch.
Again you're trying to make sure that you wind up with a wrinkle in the on the curve we've got that down I always like to give it one last check and make sure my edges haven't moved because.
Looking at it I could pull that edge a little higher you got and all our splines showing, we'll cut off those edges later.
Tightening the rail
Now we'll tighten down the rail. This is not always necessary as we'd have this thing pretty tight on this one, but some styles are a little more difficult than others.
Tip: I like to use a clamp / spreading tool, to spread the sling tightly and hold it in place so it's easy to get the bolt started and make that job of tightening the bolt a little easier.
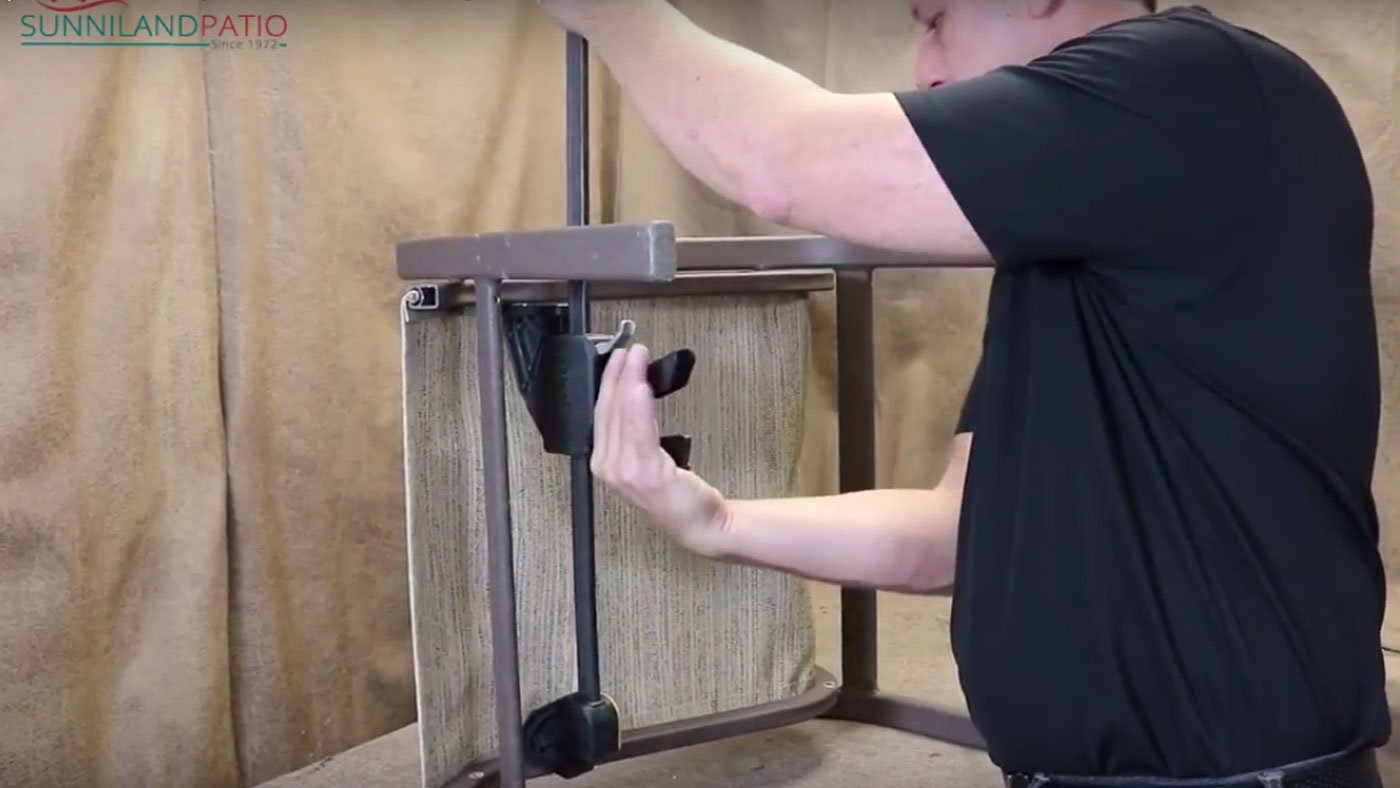
Put the first bolt in and slide to get it to get started. Then take the drill, get it in there make sure I've got some good downward pressure. You can feel that tightening. So we've got our first bolt down then we'll take out this clamp or the spreader. Now move on to our second bolt so I'll use the spreader to again spread that rail out.
It's really handy to have this but not completely necessary. A lot of times you can do without that spreading tool but sometimes it's needed especially later in this job for the spreader bars that we're going to have to put back in.
Alright, now we'll tighten down our second bolt was good, take our clamp off and then what's left to do is we need to put our spreader bars that's these two braces that go across to help keep it taut.
Replace spreader bars

First of all start with this one up on the middle curve section. I'm just going to spread this out then so now that we have this spread out completely we're just going to put the end of the the brace back into the hole where it was removed. We'll put that one hole in and then we have the other one on this end which will just set up that brace kind of hold it in position and release the clamp.
Then we're going to put the other brace into the top of the chair I've got this spread out and just put in the edge of the brace into the hole and then on the other side again. Once the brace is in the hole, release our clamp and we're good to go.
Most of the process is complete now.
Finish off the edges & replace the end caps
The chair is looking good nice and tight ready to sit in. Before we do so we need to finish off these edges there that we still have loose and get the end caps on.
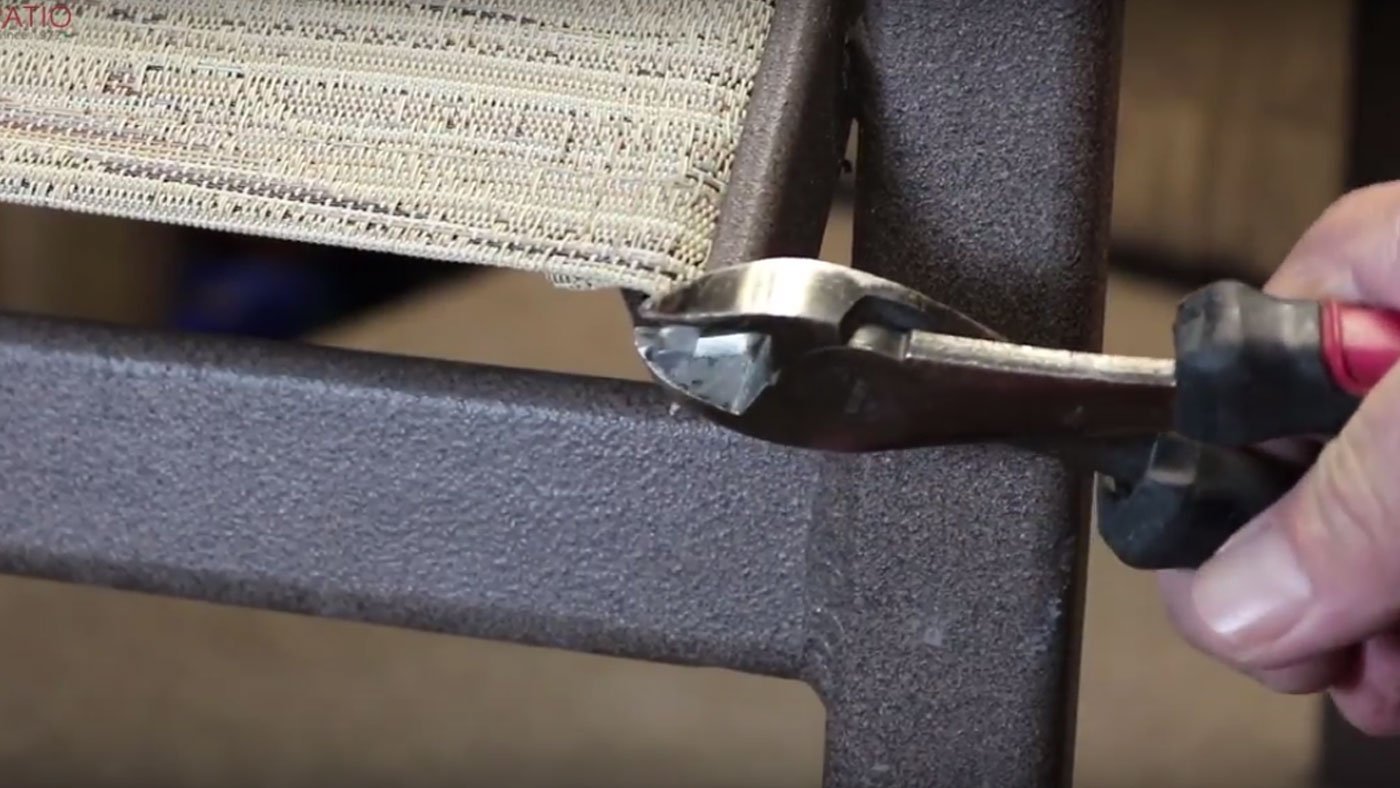
We've got this edge just a hair out, so what I like to do so that it comes right to the edge of the rail is just grab it with those cutters. Pull it out just a little bit, maybe a quarter inch and then trim it off there. What we can do then is just kind of tap the sling back in. That'll make this actually seal real nice with the end cap. Now that we've got that on we'll just set the the end cap into place and then tap it into with the hammer. Look at that nice finished edge we get on that.
Well our job here is done. The chair came out super nice, I might even have to steal this one!